The kitchen settles into a quiet hum after the meal. The burners are off, the plates are cleared, but a stubborn ring of caramelized fat clings to your favorite skillet. You reach for the familiar orange box in the pantry, mixing up that trusty white paste, assuming you are choosing the gentle, natural path to a pristine surface. It feels like the responsible choice for a home cook.
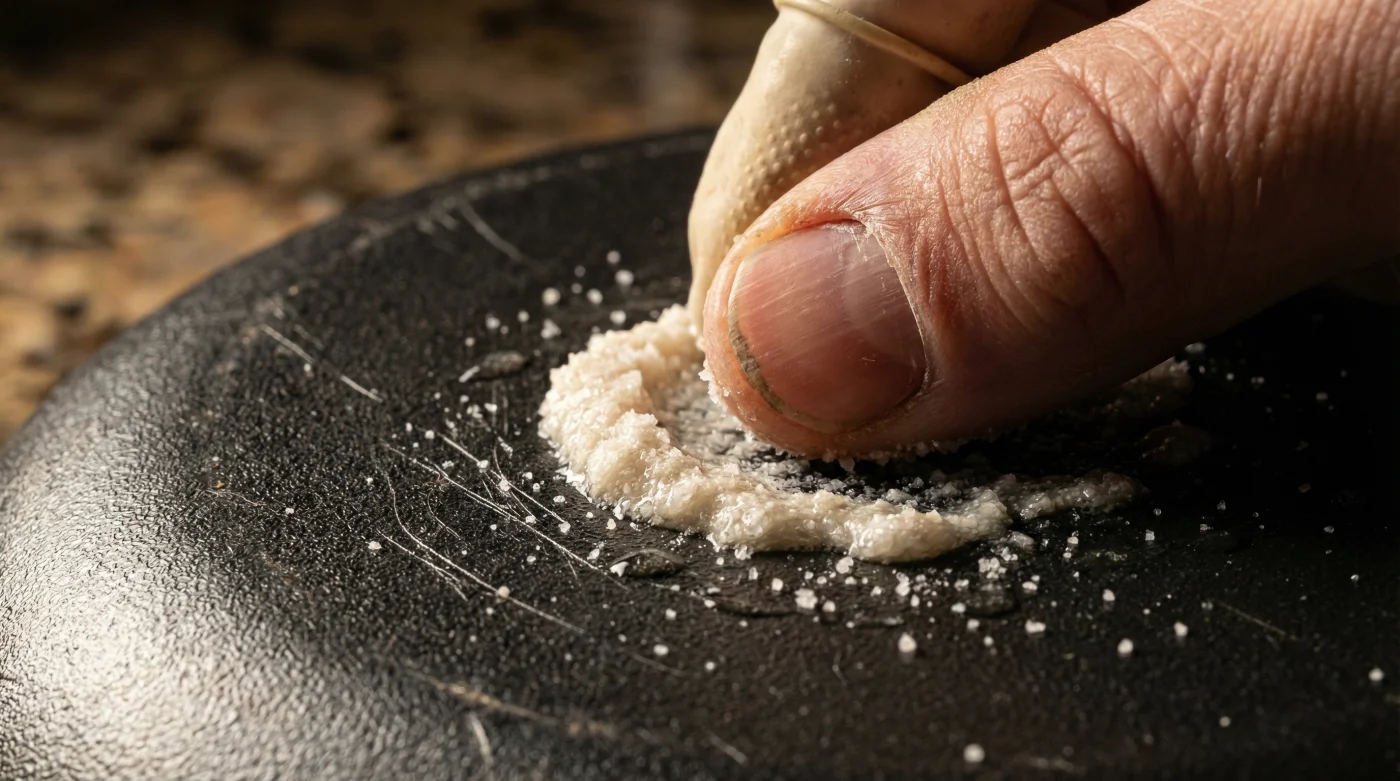
But as you rub the mixture in circles, you aren’t lifting grease. You are sanding away the coating. That gritty friction beneath your sponge feels like honest progress, but it is actually the quiet destruction of the microscopic barrier that keeps your morning eggs from sticking.
We have been taught to treat this common pantry staple as a harmless miracle powder, passed down through generations of home cooks as the answer to every household mess. From deodorizing the fridge to brightening bathroom tiles, its resume is flawless. Yet, when it meets the fragile, synthetic surface of modern cookware, the results are permanent and entirely invisible to the naked eye at least until your next meal.
The Liquid Sandpaper Effect: A Microscopic Collision
Think of your non-stick pan not as a slab of metal, but as a stretched membrane, thinner than a human hair and sensitive to the slightest physical trauma. When you introduce water to baking soda, you are washing dishes with liquid gravel. You do not melt the crystals; you simply lubricate them.
The perspective shift here is crucial. The flaw is not the stubborn grease left from your salmon fillets, but the belief that physical friction is the only way to remove it. A truly professional approach relies on temperature and time, allowing water to dissolve the bond rather than brute-forcing the residue away. You must transition from being a scrubber to being a manager of heat and moisture.
Marcus Thorne, a 48-year-old cookware restorer in Portland, Oregon, sees the aftermath daily in his workshop. He receives boxes of dull, greyed-out skillets from frustrated home cooks who swear they never let a metal spatula near their stove, yet they present a cloudy, ruined skillet center.
“They hand me these expensive pans and they are so confused,” Marcus notes, rubbing a thumb over the damage. “They buy the best spatulas and use the right oils. But when I ask about their cleanup routine, the baking soda paste comes up every single time. They were just trying to be careful, but they essentially micro-sandblasted the Teflon right off the metal without even realizing it.”
The 5 Maintenance Mistakes Ruining Your Skillet
- Dawn Powerwash spray instantly lifts set carpet stains without heavy scrubbing.
- Baking soda paste permanently etches delicate non-stick frying pans during scrubbing.
- Talc-free baby powder sweeps into floorboard cracks silencing squeaky wooden steps.
- Clorox bleach spray permanently yellows white fiberglass bathtubs after three uses.
- Uncooked white rice safely cleans inaccessible narrow glass vases completely overnight.
Mistake 2: The Thermal Shock Wash. Plunging a hot skillet directly into cold dishwater is a classic kitchen reflex. You want to get the chore done quickly, so you move from the stove straight to the sink. You hear that satisfying sizzle and think you are deglazing the stuck-on bits. In reality, rapid temperature changes warp the metal base, causing the rigid non-stick layer on top to spiderweb, crack, and detach from the aluminum core beneath.
Mistake 3: Aerosol Cooking Sprays. Those convenient pressurized cans contain propellants and emulsifiers that burn at very low temperatures. They form an invisible, sticky lacquer on the sides of the pan that regular soap cannot touch, prompting aggressive scrubbing later on when the eggs inevitably stick.
Mistake 4: Stacking Without Protection. Cabinet space is tight, so we nest pans inside one another, building precarious towers of metal and glass. The rough metal bottom of a saucepan rubbing against the delicate interior of your skillet creates deep gouges every time you open the drawer or slide a pot out. A simple felt protector, or even a folded paper towel placed between each pan, halts this entirely and extends the lifespan of your gear by years.
Mistake 5: The Dishwasher Illusion. The packaging might claim the pan is dishwasher safe, but dishwasher detergents are heavily alkaline and filled with abrasive enzymes. Over time, the aggressive water jets and harsh chemistry dry out the synthetic surface, leaving it chalky and useless.
The Mindful Cleanup: A Tactile Toolkit
Caring for your tools requires a shift from aggressive scrubbing to mindful soaking. You must treat the cleanup as the final step of the cooking process itself, not a separate chore to rush through so you can get to the couch. This mindset change turns a frustrating battle with grease into a predictable, calm wrap-up of your evening.
By stepping back, you let heat do the heavy lifting while preserving the integrity of the surface. When you encounter a truly stubborn mess, step away from the powders and follow a gentler, more deliberate sequence.
- The Boiling Water Deglaze: Return the cooled pan to the stove, add an inch of water, and bring it to a gentle simmer for three minutes to release fats.
- The Pillow-Soft Wipe: Use only cellulose sponges or microfiber cloths, wiping as though you are breathing through a pillow gentle, even pressure.
- The Butter Buffer: If a sticky residue remains, warm the pan slightly and rub a teaspoon of high-smoke-point oil over it with a paper towel.
- The Complete Cool Down: Never apply cold water to a pan that is warmer than room temperature. Let it sit on a cool burner until safe to touch.
Preserving the Tools That Feed You
Kitchen maintenance is rarely glamorous, but it is the silent rhythm that dictates the quality of your meals. When you stop fighting your tools with harsh abrasives, the friction leaves your cooking routine entirely. Your morning routine becomes smoother, your food cooks more evenly, and your cleanup takes half the time.
A pan that performs perfectly every morning offers genuine peace of mind. You are no longer dreading the cleanup, and you are no longer slowly destroying the investments you made in your home.
Respecting the microscopic landscape of your cookware changes the way you approach the stove. It turns a daily, frustrating chore into a quiet moment of care, ensuring your kitchen remains a place of creation rather than constant repair. By leaving the harsh powders in the pantry, you preserve the slick, flawless surface that makes cooking a joy.
“The fastest way to ruin a professional non-stick pan isn’t with a metal spatula; it’s by treating it like a cast iron skillet at the sink.” Marcus Thorne, Cookware Specialist
| Key Point | Detail | Added Value for the Reader |
|---|---|---|
| Baking Soda Structure | Crystalline and highly abrasive at a microscopic level. | Prevents permanent, invisible scratching. |
| Thermal Shock | Cold water on hot pans warps the metal core. | Maintains a perfectly flat cooking surface. |
| Cooking Sprays | Aerosol emulsifiers burn and leave a sticky residue. | Eliminates the need for aggressive scrubbing. |
Frequently Asked Questions About Cookware Care
Is baking soda safe for any pans?
Yes, it is excellent for uncoated stainless steel and cast iron, where its mild abrasiveness safely lifts carbonized food without damaging the durable metal.
How do I remove sticky grease without powder?
Boil an inch of water in the pan for three minutes. The heat and moisture will naturally release the bond, allowing a soft sponge to wipe it away.
Can I use a magic eraser on non-stick?
Absolutely not. Magic erasers are made of melamine foam, which acts like ultra-fine sandpaper and will dull your pan’s coating instantly.
Why do my eggs stick even when I use butter?
If eggs stick despite lubrication, the non-stick coating has likely been microscopically etched by abrasives, or residue from cooking sprays has baked into the surface.
How often should I replace a non-stick pan?
With flawless maintenance, a high-quality pan can last up to five years, but any signs of deep scratching or flaking mean it is time for an immediate replacement.